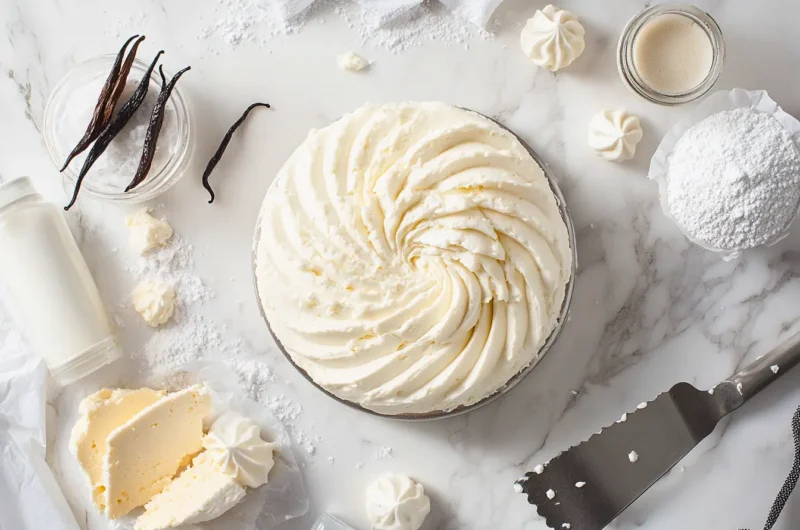
Real talk: You know those days when your sweet tooth is demanding something special, but your baking confidence is hiding somewhere between the measuring cups and mixing bowls? That’s exactly how I discovered this magical filling recipe that’s become my go-to for everything from cupcakes to Danish pastries! 🧁
Kitchen confession: The first time I tried making a cream cheese filling, it was for my best friend’s birthday cupcakes, and let’s just say… things got a little lumpy (okay, very lumpy! 😅). But after countless batches and many delicious “testing” sessions, I’ve cracked the code to a perfectly smooth filling that’s practically impossible to mess up!
Whether you’re feeling:
- “Need to impress at the bake sale” vibes
- “Comfort baking after a long day” energy
- “Want to elevate my everyday desserts” moments
Trust me on this one – this recipe is about to become your new baking bestie!
Quick Answer: This perfectly balanced cream cheese filling is silky-smooth, pipeable, and endlessly adaptable. It’s your go-to for everything from cupcakes to pastries, and yes, it’s way better than anything from the store (plus, you’ll know exactly what’s in it!).
Table of Contents
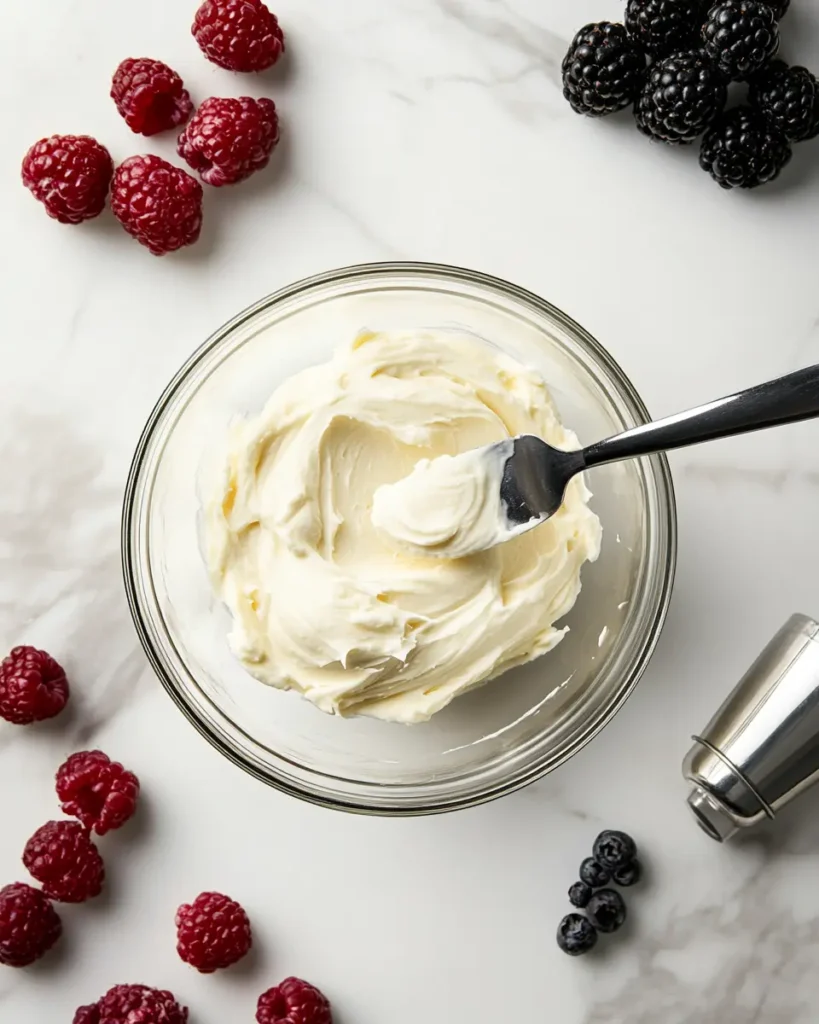
Why You’ll Love This Cream Cheese Filling
Real talk: Some recipes just feel like a warm hug in the kitchen, and this filling is definitely one of them! It’s been my trusty companion for countless late-night baking sessions and last-minute party saves. 🤗
Kitchen confession: I used to reach for store-bought filling until one particularly stressful bake sale when I couldn’t find any at the store. That panic-induced experiment led to this recipe, and now I can’t imagine going back!
Here’s why this filling has become my absolute go-to:
- “Perfect balance” sweet spot: Just enough sugar to satisfy without overwhelming the cream cheese tang
- Holds its shape beautifully (no more sad, melty cupcake tops!)
- Works in absolutely everything from Danish pastries to cookie sandwiches
- Takes less than 10 minutes to whip up (perfect for those “I need dessert NOW” moments!)
Essential Ingredients for Perfect Cream Cheese Filling
Real talk: The secret to dreamy cream cheese filling isn’t in fancy techniques or special equipment – it’s all about starting with the right ingredients at the right temperature!
Kitchen confession: I learned this the hard way after one too many lumpy batches. Now I treat my ingredients like prima donnas who need everything just right (but trust me, the diva behavior is worth it! 😅)
Let’s break down your must-haves:
The Star of the Show: Cream Cheese
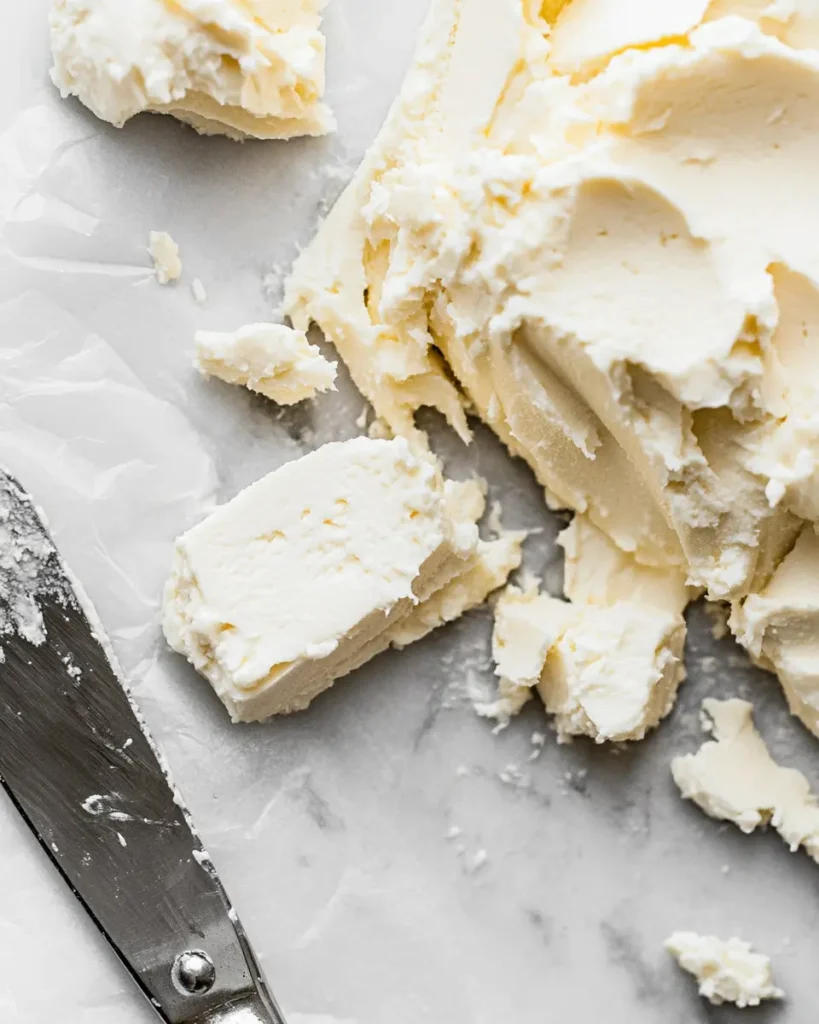
- Full-fat blocks only – according to Serious Eats’ comprehensive taste test, brick-style cream cheese has less moisture and air, making it ideal for baking
- Room temperature is non-negotiable (set it out 2 hours before)
- Philadelphia is my go-to, but any quality brand works
Supporting Cast:
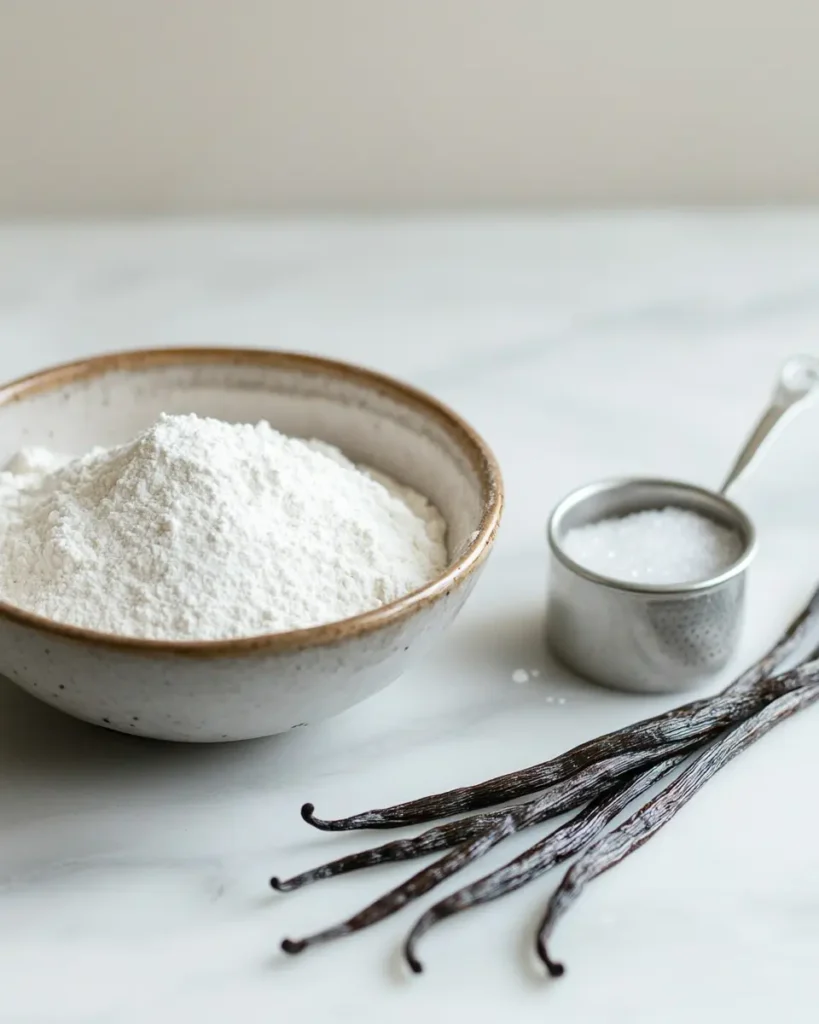
- Powdered sugar (for that silky-smooth finish)
- Use pure vanilla extract – according to Bon Appétit’s comprehensive guide, Madagascar vanilla provides that classic creamy flavor that works perfectly in cream cheese filling
- Tiny pinch of salt (it makes everything sing!)
- Optional: A splash of heavy cream for extra richness
Trust me on this one: When people ask me why their filling turned out lumpy, it’s almost always because they rushed the temperature part. Think of it like getting ready for a first date – you wouldn’t rush that, right? Same goes for your cream cheese!
How to Make Foolproof Cream Cheese Filling
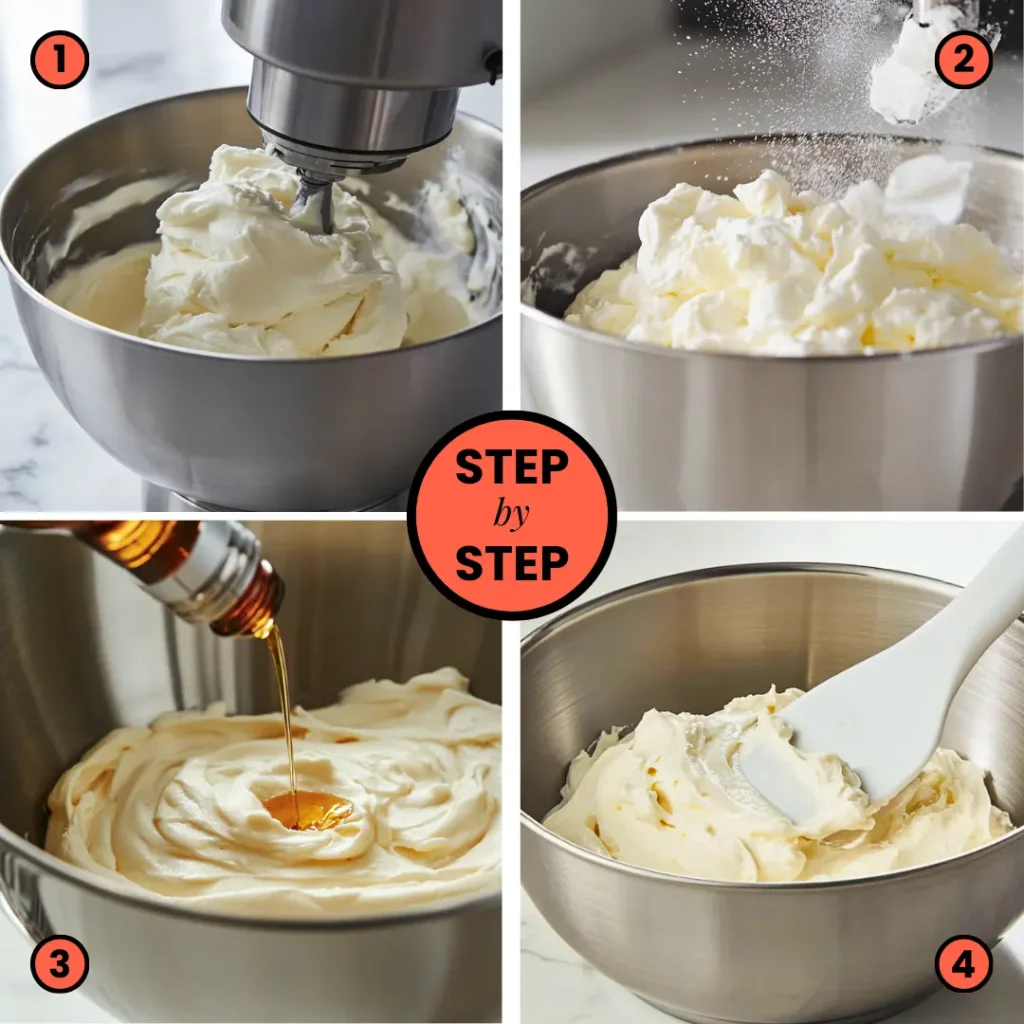
Real talk: Ready to turn those ingredients into silky-smooth perfection? Let’s break this down into bite-sized steps that’ll work whether you’re running on caffeine or courage! 😅
Kitchen confession: I used to skip the whole “room temperature” thing (who has time to wait, right?). The lumpy results taught me some patience, and now I’m here to save you from my mistakes!
Your Setup:
- Stand mixer or hand mixer (both work great!)
- Medium mixing bowl if using hand mixer
- Spatula for scraping down sides
- Optional: Piping bag and tips
Let’s Get Mixing:
- Start with the foundation: Whip your softened cream cheese on medium speed until it’s light and airy (about 2-3 minutes)
- Time for sweetness: Stop the mixer, add ½ cup of powdered sugar, then mix on low until incorporated. Repeat with remaining sugar until you reach desired sweetness
- Flavor boost: With the mixer on low, drizzle in the vanilla extract, then add a tiny pinch of salt and beat until everything’s just combined
- Final polish: Stop the mixer, scrape down those bowl sides, then give it one final quick mix to ensure everything’s perfectly smooth
Trust me on this one: Starting the mixer too fast with powdered sugar is a rookie mistake (ask me how I know – I once turned my kitchen into a winter wonderland! 😅)
Ways to Use Your Cream Cheese Filling
Real talk: Once you’ve mastered this cream cheese filling, you’ll want to put it in everything (and I mean everything – I may have even spread it on my morning toast once! 😅)

Classic Favorites:
- Between cake layers (especially carrot cake!)
- Piped onto cupcakes in pretty swirls
- Inside Danish pastries and Mexican-inspired Xangos – those crispy-creamy chimichangas that’ll make any day feel special!
- Sandwiched between soft cookies or layered in a 10-minute no-bake Oreo dessert when you need something sweet but can’t even think about turning on the oven
Kitchen confession: I used to think cream cheese filling was just for carrot cake – oh, how wrong I was! Now I keep a batch ready for whenever those sweet cravings hit.
Unexpected Twists:
- Stuff inside french toast (weekend brunch game-changer!)
- Layered in breakfast pastry braids
- Mixed with fresh berries for crepe filling
- Swirled into brownie batter before baking
Trust me on this one: The key to perfect filling is matching its consistency to your use. Stiffer for piping, slightly softer for spreading!
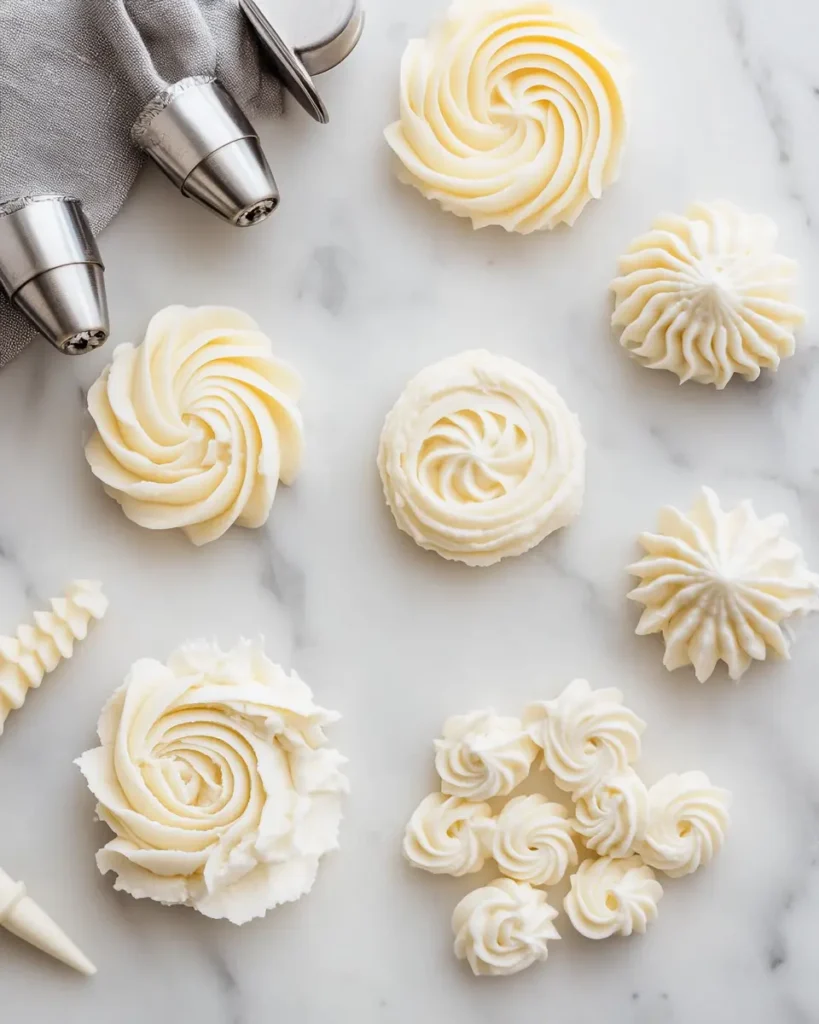
Piping Like a Pro:
- For perfect swirls: Fill your piping bag just halfway (trust me, overfilling leads to mess!)
- Start with a classic 1M tip for those bakery-style cupcake swirls
- Try a French star tip for elegant cream puffs
- For more piping tips and techniques, check out this comprehensive guide: Piping Frosting 101.
Make-Ahead Magic:
- Keep your filling fresh in the fridge for up to 3 days
- Take it out about an hour before you need it (cold filling is stubborn to work with!)
- Kitchen confession: Once it’s soft enough, give it a good beating with your mixer to bring back that dreamy texture
- Always date your container (because memory fails when you have multiple batches!)
Keeping Your Cream Cheese Filling Fresh
Real talk: Nothing’s sadder than having to toss out a batch of filling because you forgot when you made it! Let’s make sure your cream cheese filling stays fresh and ready for all your baking adventures. 🤗
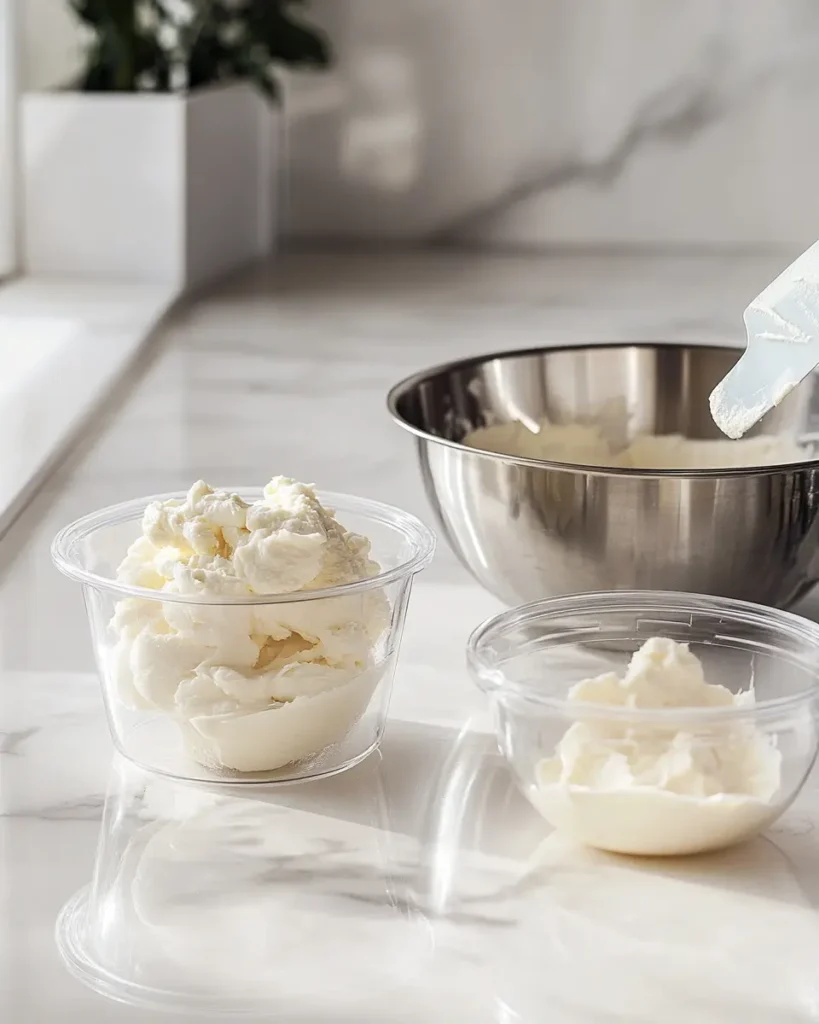
Fridge Rules:
- Pop your filling in an airtight container
- Sweet spot is front of the fridge (not the back where things get forgotten!)
- Best used within 5 days
- Label with the date (I use cute washi tape for this!)
Kitchen confession: I once found a mystery container of filling hiding behind the jam jars. Now I stick to a system – clear containers, front row only!
When It’s Time to Use:
- Set out your container an hour beforehand
- Once softened, mix until fluffy and smooth
- Watch for any liquid separation (totally normal!)
- Check for that silky, spreadable consistency
Trust me on this one: The texture should feel like spreading clouds – if it’s too firm, you’ll tear your cakes; too soft, and your piping will droop!
Signs It’s Past Its Prime:
- Off smell? Straight to the bin!
- Weird color changes? Say goodbye
- More than 5 days old? Play it safe
- Any mold? Don’t even think about it!
Cream Cheese Filling for Every Mood
Real talk: Sometimes you need your cream cheese filling to work a little harder for you – maybe it needs to be extra stable for a summer wedding cake, or lighter for your “trying to be good” moments. I’ve tested ALL the variations, and here are my absolute favorites!
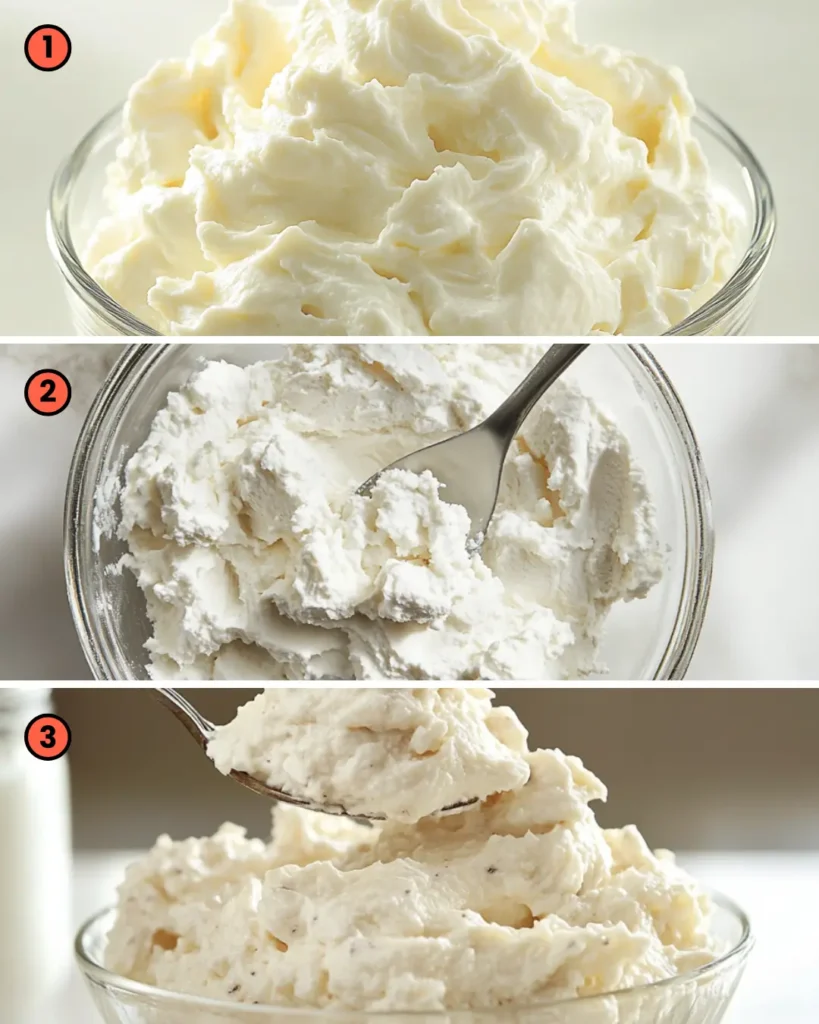
When You Need It Extra-Sturdy
- Add 1 tablespoon cornstarch
- Use cold cream cheese
- Cut powdered sugar by ¼ cup
- Perfect for: Summer events, wedding cakes, outdoor parties
Kitchen confession: This version saved my friend’s garden wedding cake from the July heat!
For Your Light & Fresh Days
- Swap half the cream cheese for Greek yogurt
- Use vanilla bean paste instead of extract
- Perfect for: Breakfast pastries, lighter desserts
- Trust me on this one: The tang from the yogurt makes it extra special!
Pro Tips for Perfect Cream Cheese Filling
Real talk: After making hundreds of batches (and learning from plenty of mistakes!), I’ve picked up some tricks that’ll help you nail that perfect filling every time.
Temperature Matters:
- Start with truly room temperature ingredients
- Take cream cheese out 2 hours before mixing
- Keep filled cakes cool but not cold
- If it’s hot, add ingredients straight from fridge
Avoid These Common Mishaps:
- Rushing the softening process
- Over-beating (causes separation)
- Adding all ingredients at once
- Using cold cream cheese
Trust me on this one: When in doubt, scrape down those bowl sides one extra time!
Frequently Asked Questions About Cream Cheese Filling
Can I make this ahead for a party?
You can prep this up to 3 days before your event. Keep it sealed tight in the fridge, and let it come to room temp naturally before giving it a quick mix.
Why did my filling curdle?
This usually happens when your ingredients are too cold or at different temperatures. Room temperature ingredients are crucial for a smooth result.
How much do I need for a layer cake?
For an 8-inch layer cake, plan on about 1½ cups between layers. For special occasions like weddings, I always make a double batch – leftover filling never goes to waste in my kitchen!
Can I color this filling?
Use gel food colors only. Liquid colors add unwanted moisture that affects the texture. Kitchen confession: I learned this the hard way at my niece’s rainbow-themed birthday!
My filling is too soft to pipe – help!
Take a quick pause and chill your bowl for about 20 minutes. A brief chill firms things up beautifully. For extra stability, sprinkle in small amounts of powdered sugar while mixing until you reach your desired consistency.
What about serving at outdoor events?
Keep a close eye on the clock and temperature. On warm days, swap this for our extra-sturdy version, and always keep your desserts in the shade or chilled.
Sweet Success: Final Notes on Cream Cheese Filling
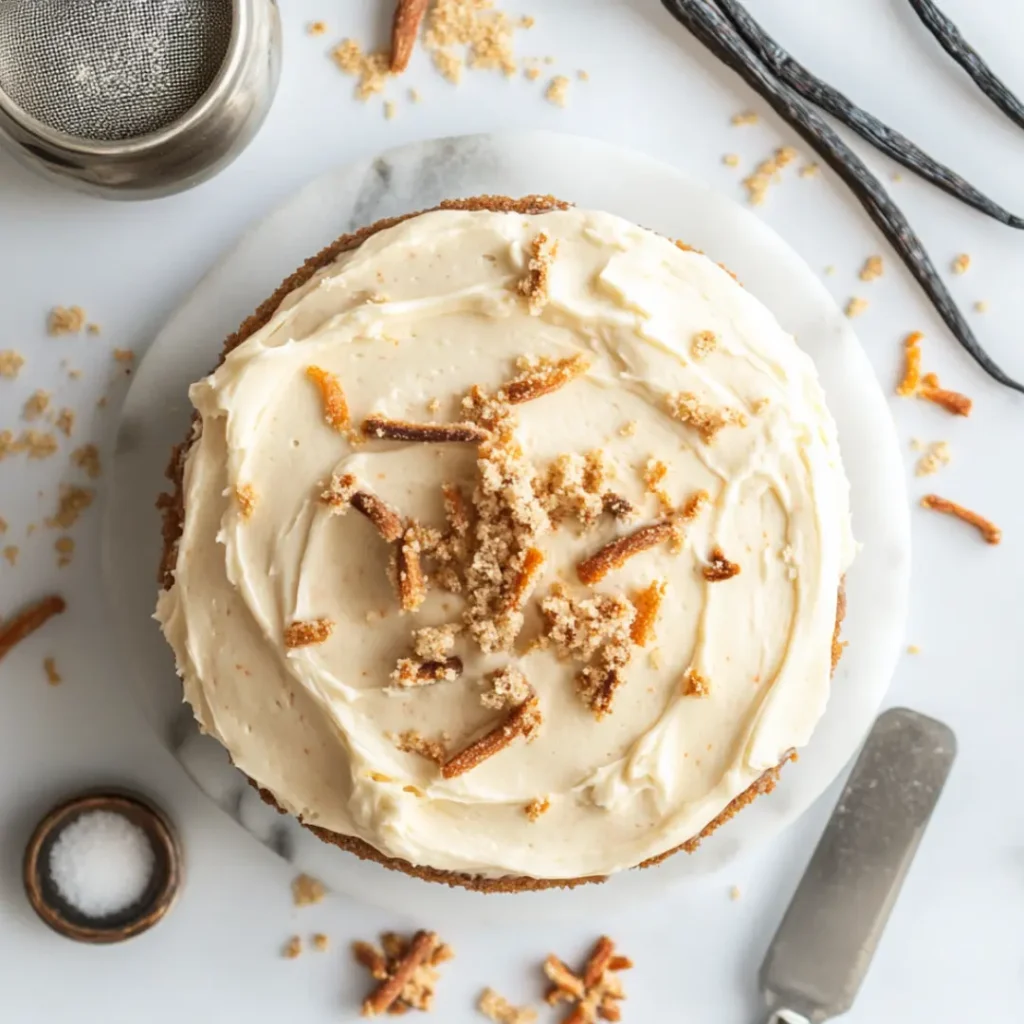
Whether you’re tackling your first layer cake or whipping up a batch of celebration cupcakes, remember that perfect cream cheese filling comes with practice (and maybe a few tasty mistakes along the way).
Kitchen confession: Every time I make this filling, I still get excited seeing those first smooth, creamy swirls appear in my mixing bowl. There’s something magical about transforming simple ingredients into something that makes people’s eyes light up.
Keep these final tips in mind:
- Trust your instincts about consistency
- Take your time with room-temperature ingredients
- Don’t stress about getting it perfect – it’ll still taste amazing
- Make it your own by adjusting the sweetness to your taste
I’d love to see what you create! Tag your photos with #thefoodymoody so we can all celebrate your baking adventures.
With love and creamy mornings, Claire 💕
Perfect Cream Cheese Filling
Course: DessertCuisine: AmericanDifficulty: Easy3
cups10
minutes10
minutesA smooth, pipeable cream cheese filling perfect for cakes, cupcakes, pastries, and more. This versatile recipe creates a stable filling that holds its shape while staying creamy.
Ingredients
16 oz (2 blocks) cream cheese, room temperature
1 cup powdered sugar
1 teaspoon pure vanilla extract
Pinch of salt
Optional: A splash of heavy cream for extra smoothness
Directions
- Ensure cream cheese is truly at room temperature (about 2 hours on counter)
- Beat cream cheese on medium speed until light and fluffy (2-3 minutes)
- Gradually add powdered sugar, mixing on low speed between additions
- Add vanilla and salt, blend until everything comes together
- Scrape down bowl sides and give a final mix
- For a silkier texture, blend in small amounts of cream until you reach your ideal consistency
Notes
- • For extra stability, add 1 tablespoon cornstarch with the powdered sugar
• Use full-fat cream cheese blocks, not spread
• All ingredients should be room temperature
• Don’t overbeat after adding sugar to prevent separation
• Storage: Keep your filling fresh in a sealed container in the fridge. Best used within 5 days. Let it come to room temperature before using.
Nutrition Facts
- Amount Per ServingCalories120
- % Daily Value *
- Total Fat
10g
16%
- Total Carbohydrate
8g
3%
- Protein 2g 4%
* The % Daily Value tells you how much a nutrient in a serving of food contributes to a daily diet. 2,000 calories a day is used for general nutrition advice.

